The Raspberry Pi
The Raspberry Pi has been on the market for a while now, providing a very affordable, small computer for the computer interested and hobbyist hackers. The idea of the Raspberry Pi came in 2006 when teachers at the University of Cambridge’s Computer Laboratory became concern about the decline in numbers and skill-levels among the A-level students who entered computer science. The tinkers of the early computer generation were replaced due to well designed and easy-to-use interfaces, and in school curriculum Computer Science class was mostly filled with sessions on Excel Spreadsheets, Word-processing and other tools with a high abstraction level. The idea of Raspberry Pi was to provide those who wanted with an affordable, but capable platform for tinkering. Interestingly, this trend should coincide with the makers movement which have embraced DIY-electronics from the Arduino interface to 3D-printing.
What is the Raspberry Pi?
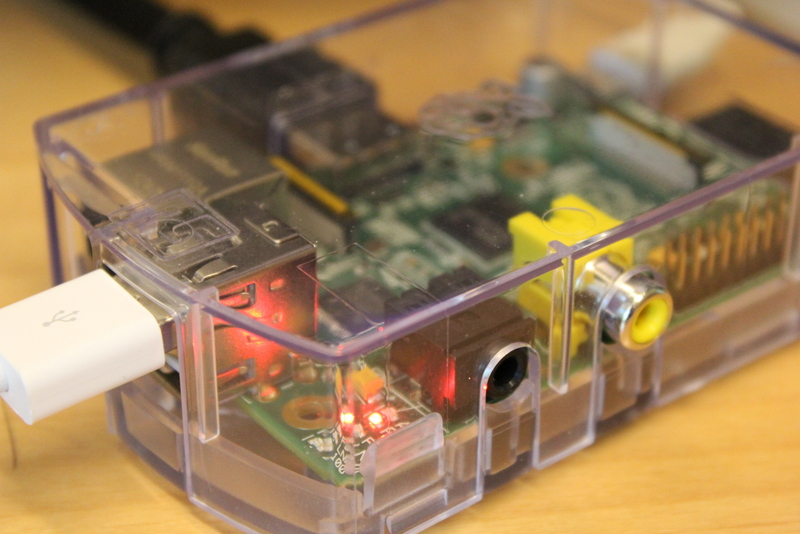
It’s a plain computer, very scaled down and very affordable. The A-model costs around 25 Pounds, and at 30 Pounds you get the B-model which comes with 512 MB RAM, two USB-sockets and an Ethernet adapter. Both versions have a SD-card reader (the SD card, not included in the price, functions as a hard-drive for the Pi), HDMI-port for visual (and sound) and 3.5 mm jack output for sound. Both devices is powered by a micro-USB plug, come with a 700 Mhz ARM processor (roadcom BCM2835 700MHz ARM1176JZFS processor with FPU and Videocore 4 GPU) and a dedicated graphics unit which supports OpenGL and 1080p30 H.264 video (which is great since a 700Mhz processor is not too found of running high-res video in adition to the OS). It also comes with an RCA composite video output and CPIO ports, the latter may have a good potential if you want the Raspberry Pi to work as a stand-alone Arduino-like device.
Perhaps the most imporant part about the Raspberry Pi is that it can be used for many things, and that it has a low-level entry cost. With the HDMI and RCA you could use it as a media center, or you could buy a SNES-controller adapter and use it as a Super Nintendo with the ZSNES emulator. This makes it a brilliant tinkering device.
After ordering a HDMI to DVI adapter I finally got my Raspberry up and running and I will be back with some projects built on this platform soon. Stay tuned!
Getting it up and running is just plug-and-play if you have a preloaded SD-card. If not it is a bit more hazzle, I used this introduction on how to Install the Operating system onto the SD-card and it worked well using the Mac OSX Terminal to load the Raspbian OS over on the card following the instructions.
[nggallery id=11]